Table of contents
Creating a Company Solution
This guide walks you through the the steps to create a Company Solutions for POET using the OPUS Solution Environment. This is typically the first step in configuring POET for a specific company on the TraceLink Network.
Prerequisites
Before you begin:
- The company and Partner must be licensed for POET and have SSO-enabled Tracelink accounts.
- A valid Network connection must exist between the Company and Partner on the Tracelink Network.
- At least one user per organization must have System Admin rights and access to Solution Builder.
Steps to create a Company Solution
- Open the OPUS Solution Environment and navigate to the main Menu.
- Select the Opus Solution Environment solution.
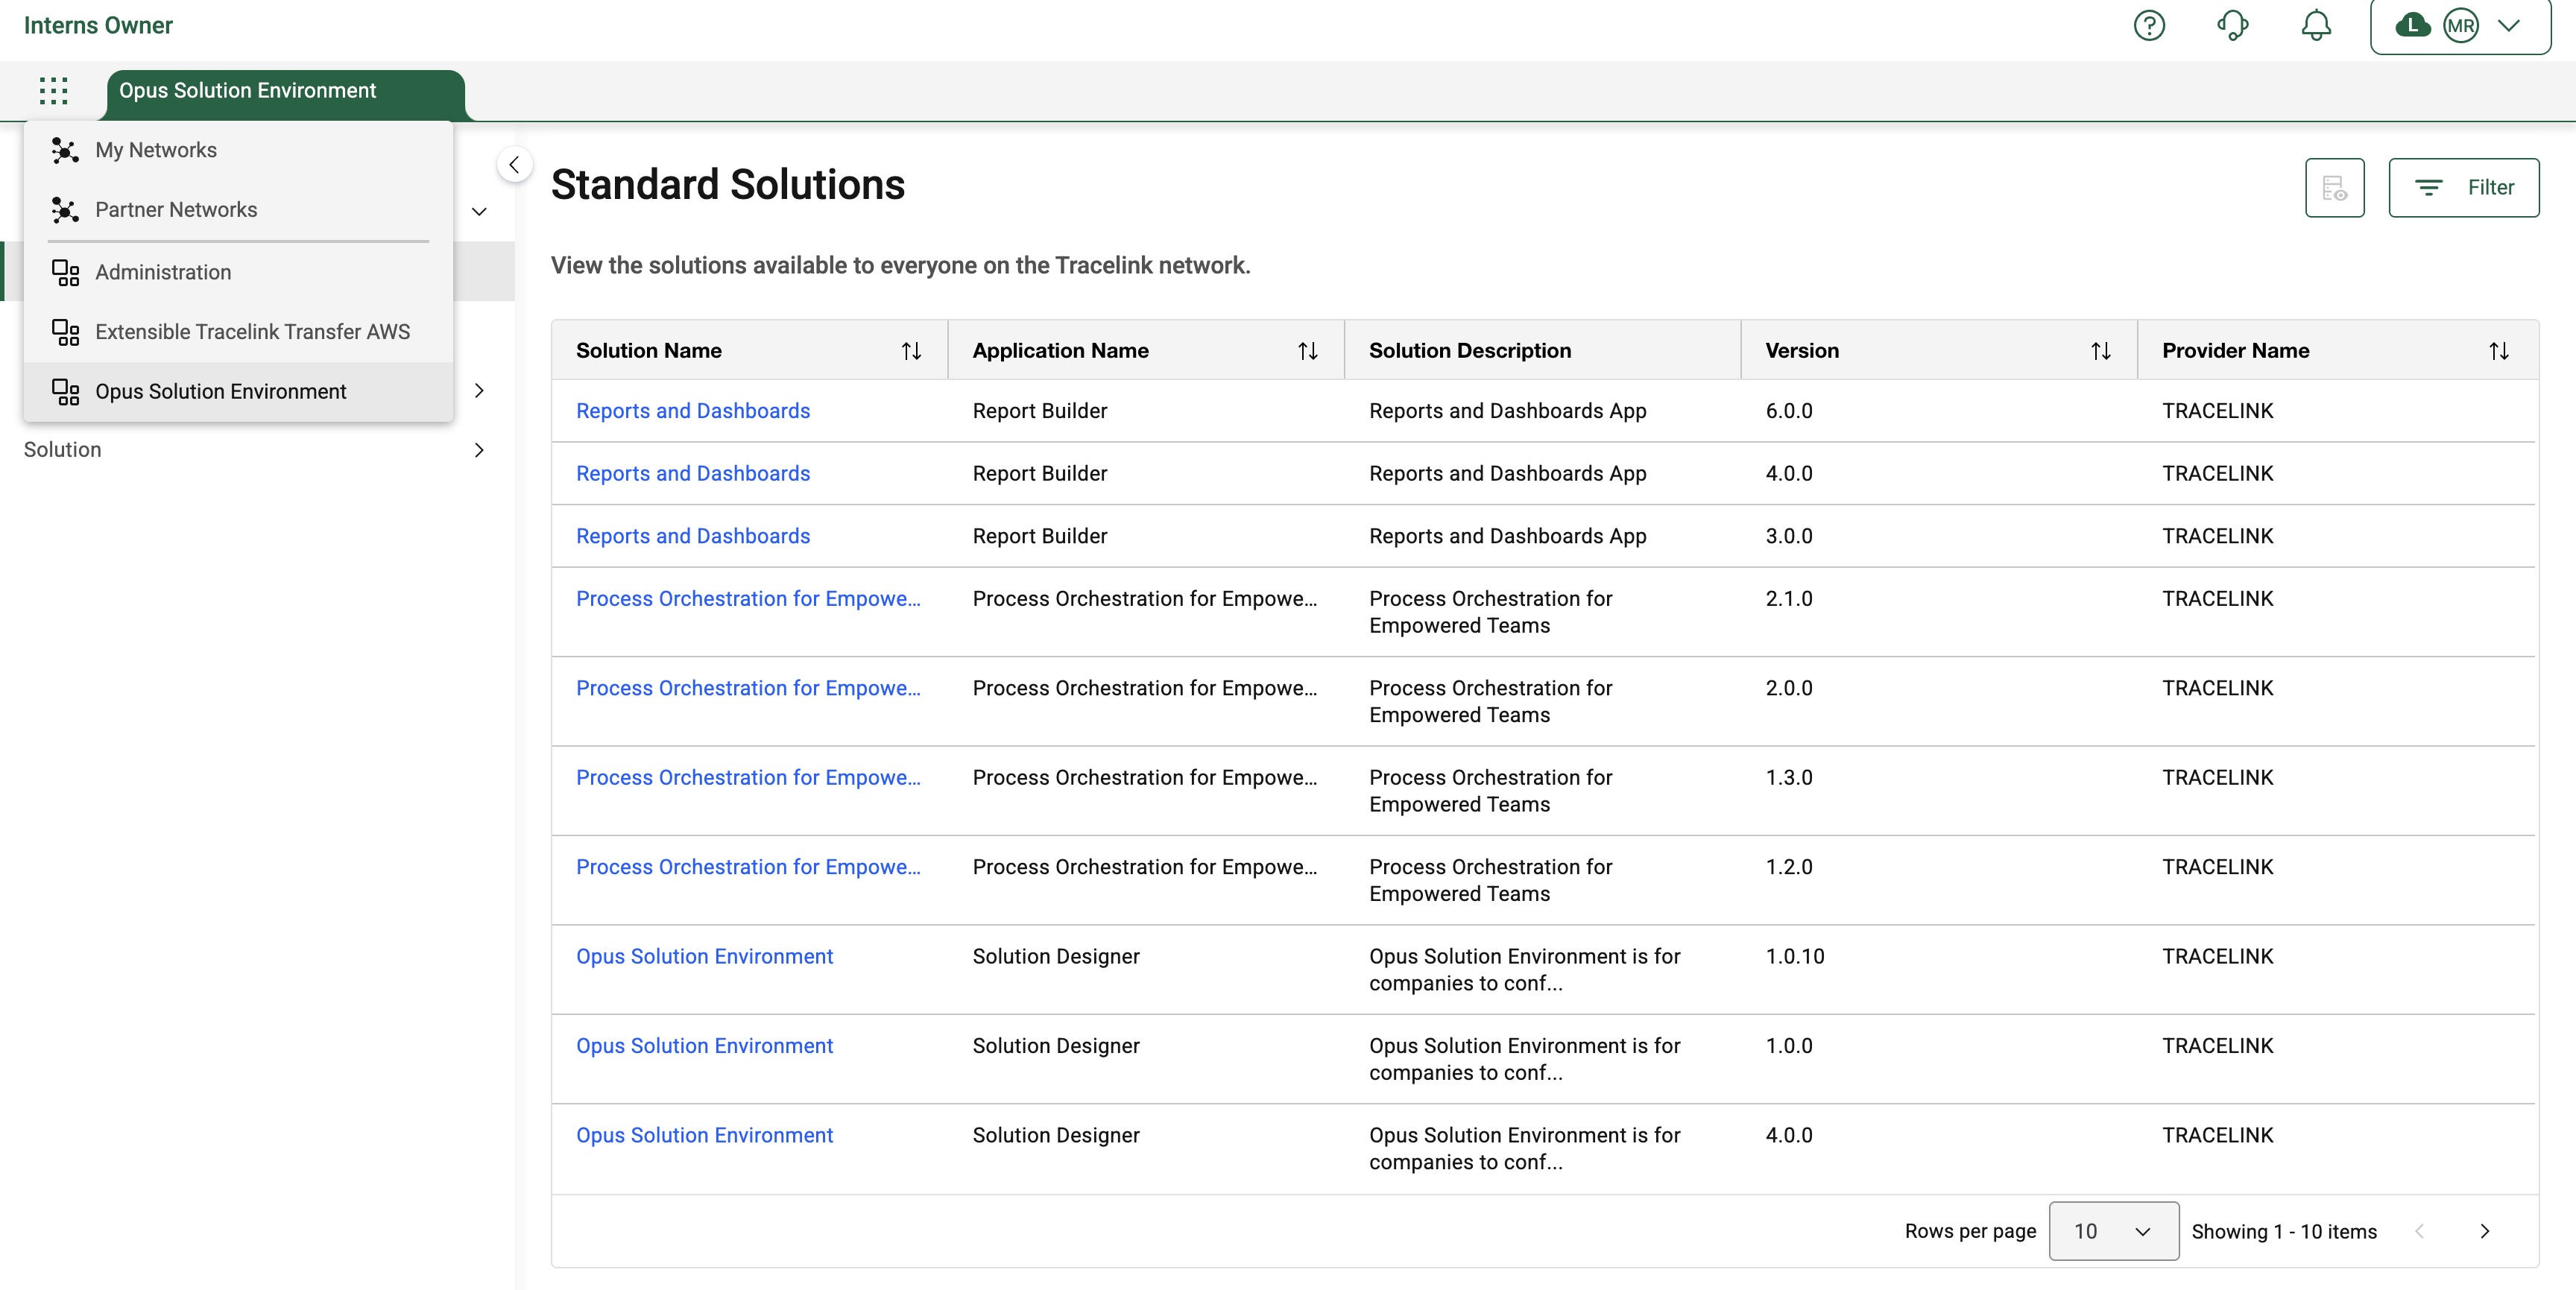
- In the Opus Solution Environment, select the Catalog menu.
- Select Standard Solutions.
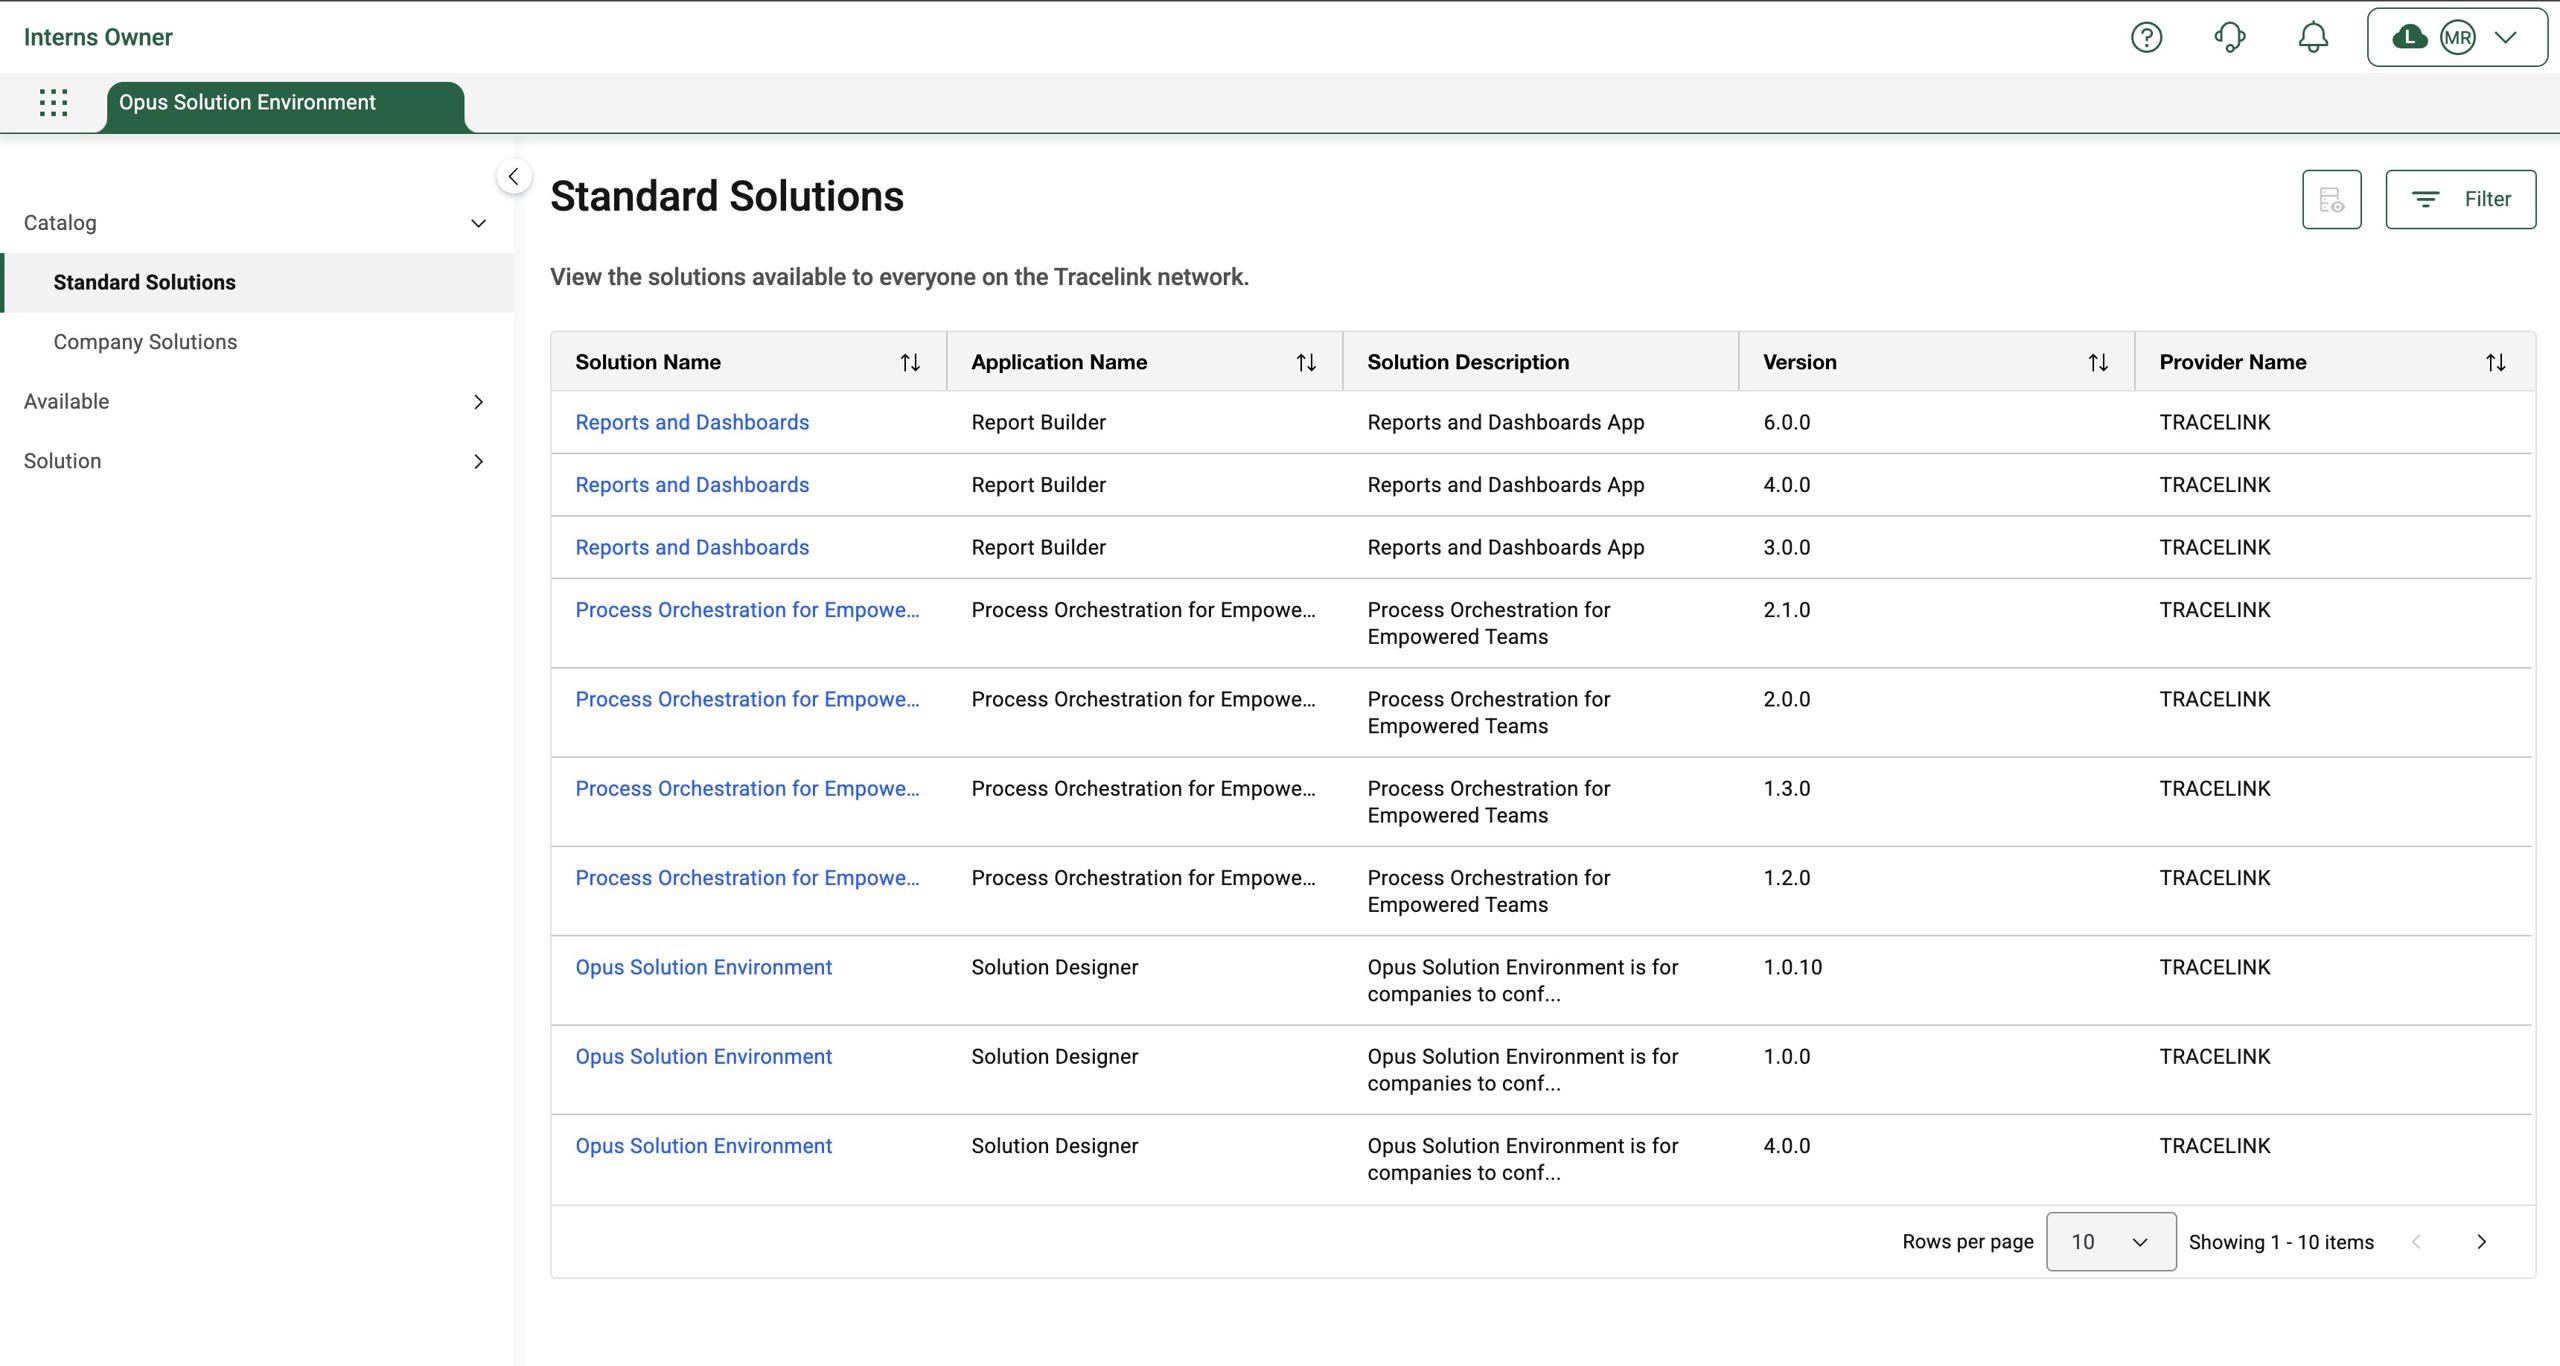
- Select the Filter button from the upper-right corner of the page.
- Enter Process in the Solution Name field and select Apply.
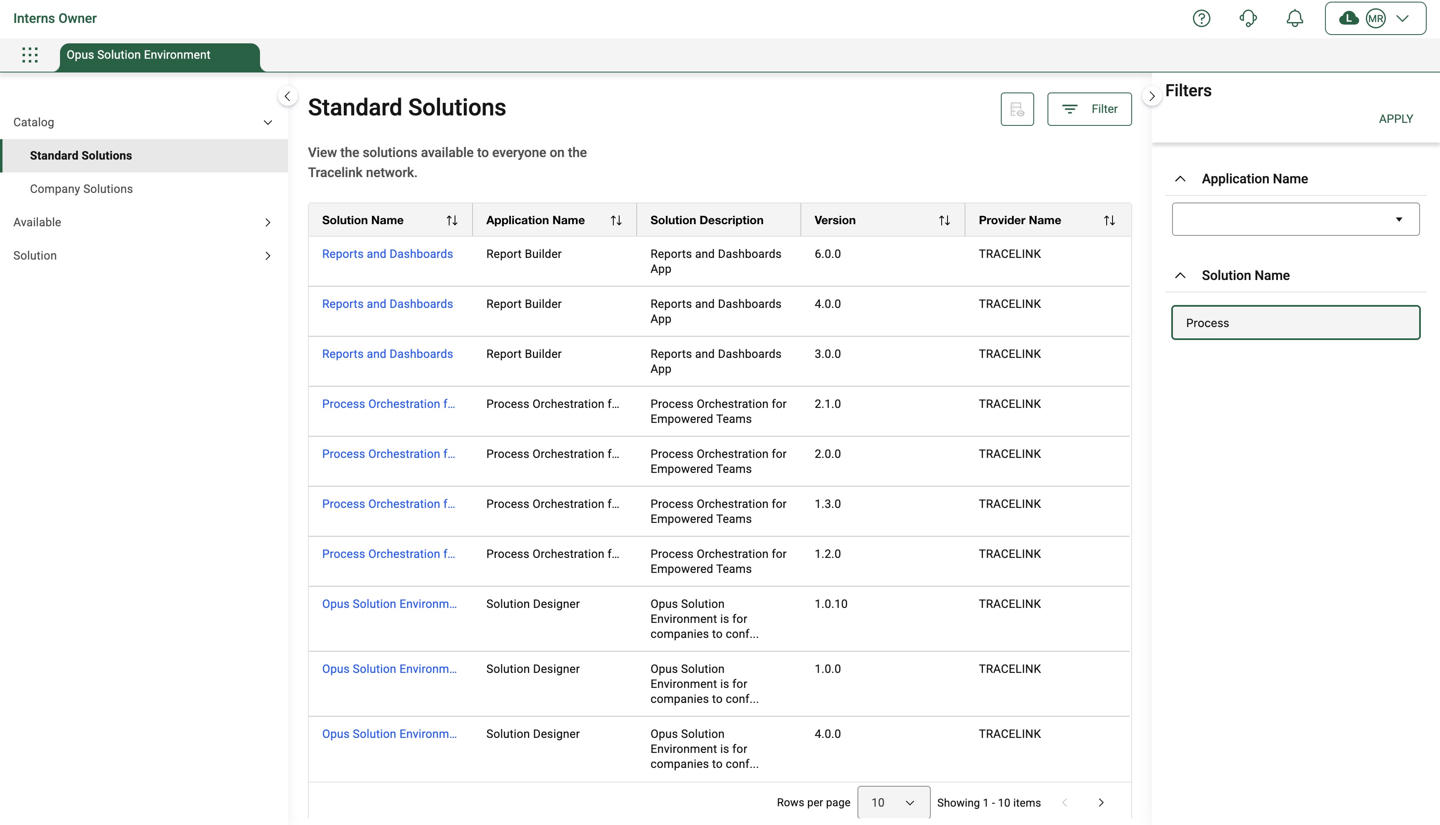
- From the filtered list, find the POET solution version you want to configure. Select the hyperlink in the Solution Name column to open its details page.
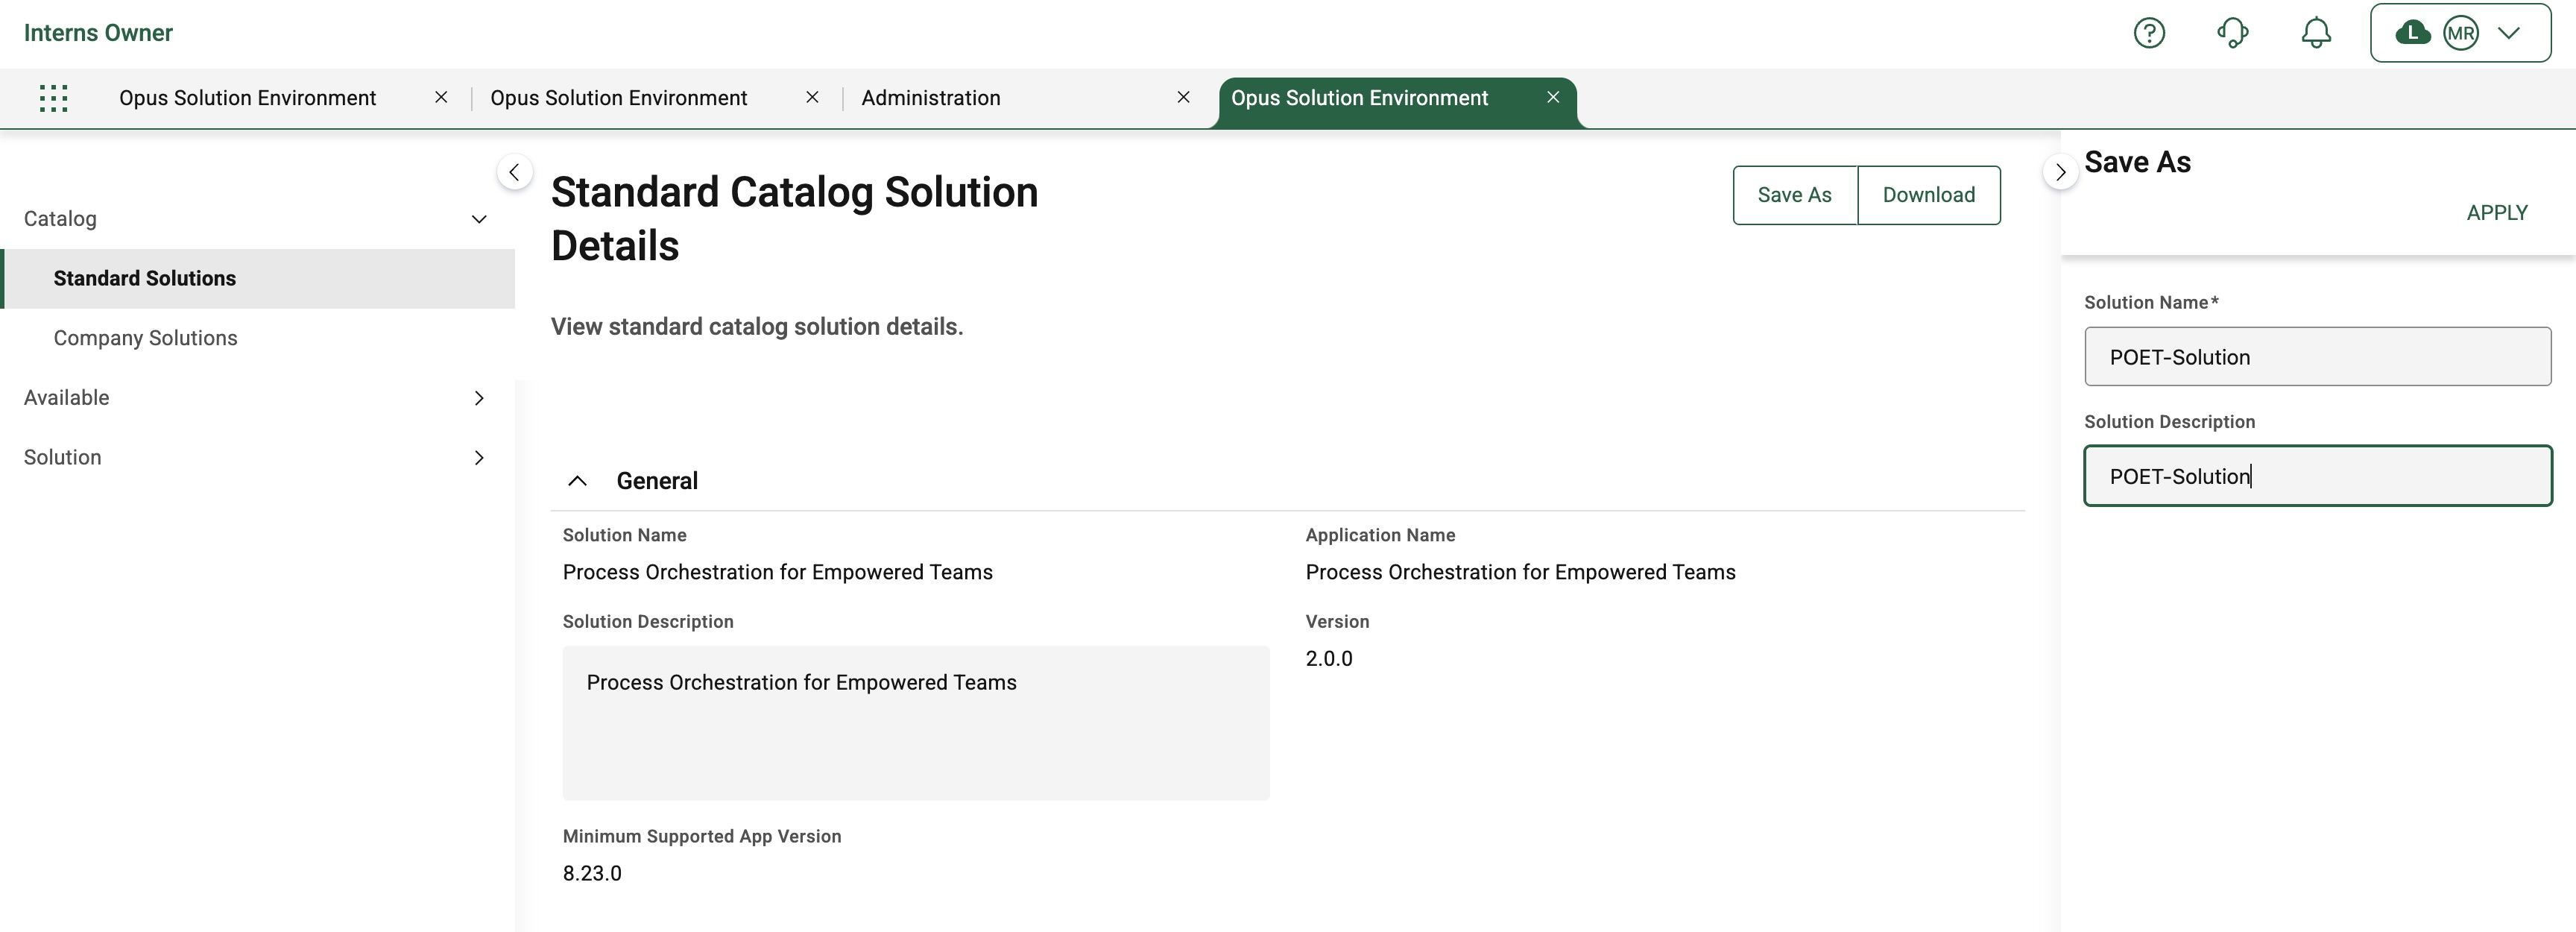
- On the Standard Catalog Solution Details page, select the Save As button to open the Save As push panel and enter the following fields:
- Solution Name as POET-Solution
- Solution Description as POET-Solution
- Select the Apply button to save the solution as a Company Solution.
Make sure you use a different Solution Name as it does not accept already used names.
- In the left-hand menu, under the Available section, select Company Solutions. Verify that the new POET Solution appears in the list of available company solutions.
Creating Network
This guide explains how to create a Network POET Company Solution to establish a collaboration channel between your company and a trading partner (e.g., supplier). This step is essential to enable purchase order workflows between parties.
Prerequisites
Before you begin:
- A Company Solution for POET must already exist.
- The company and Partner must be connected on the Tracelink Network.
- Both parties must be licensed for POET.
- Must have System Administrator access.
Steps to create a Network
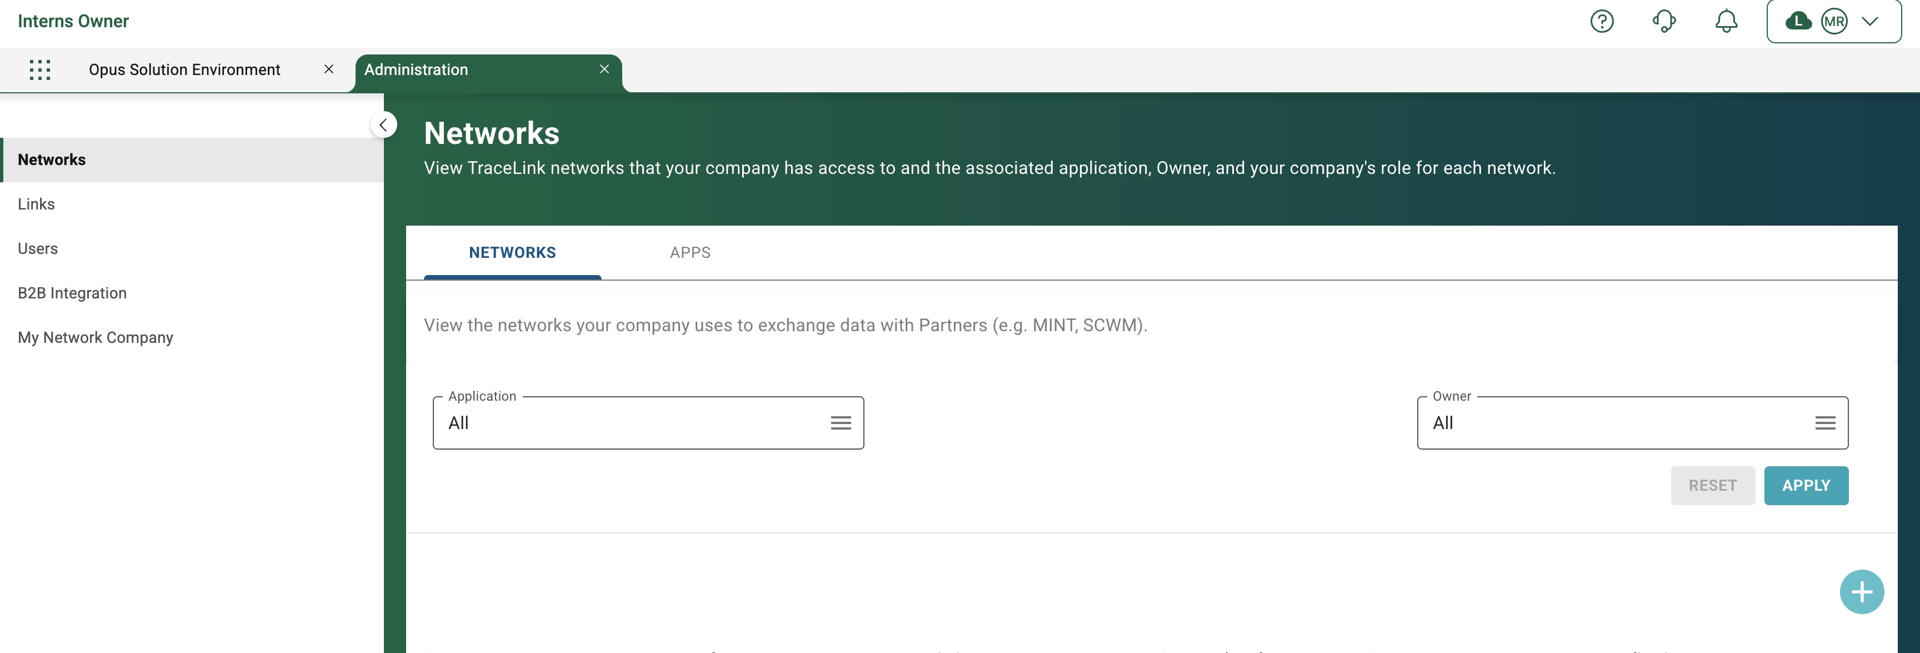
- From the Main menu, navigate to Administration. The Networks page is displayed.
- Add a Network by selecting the “+” button on the page to open the Network Creation panel.
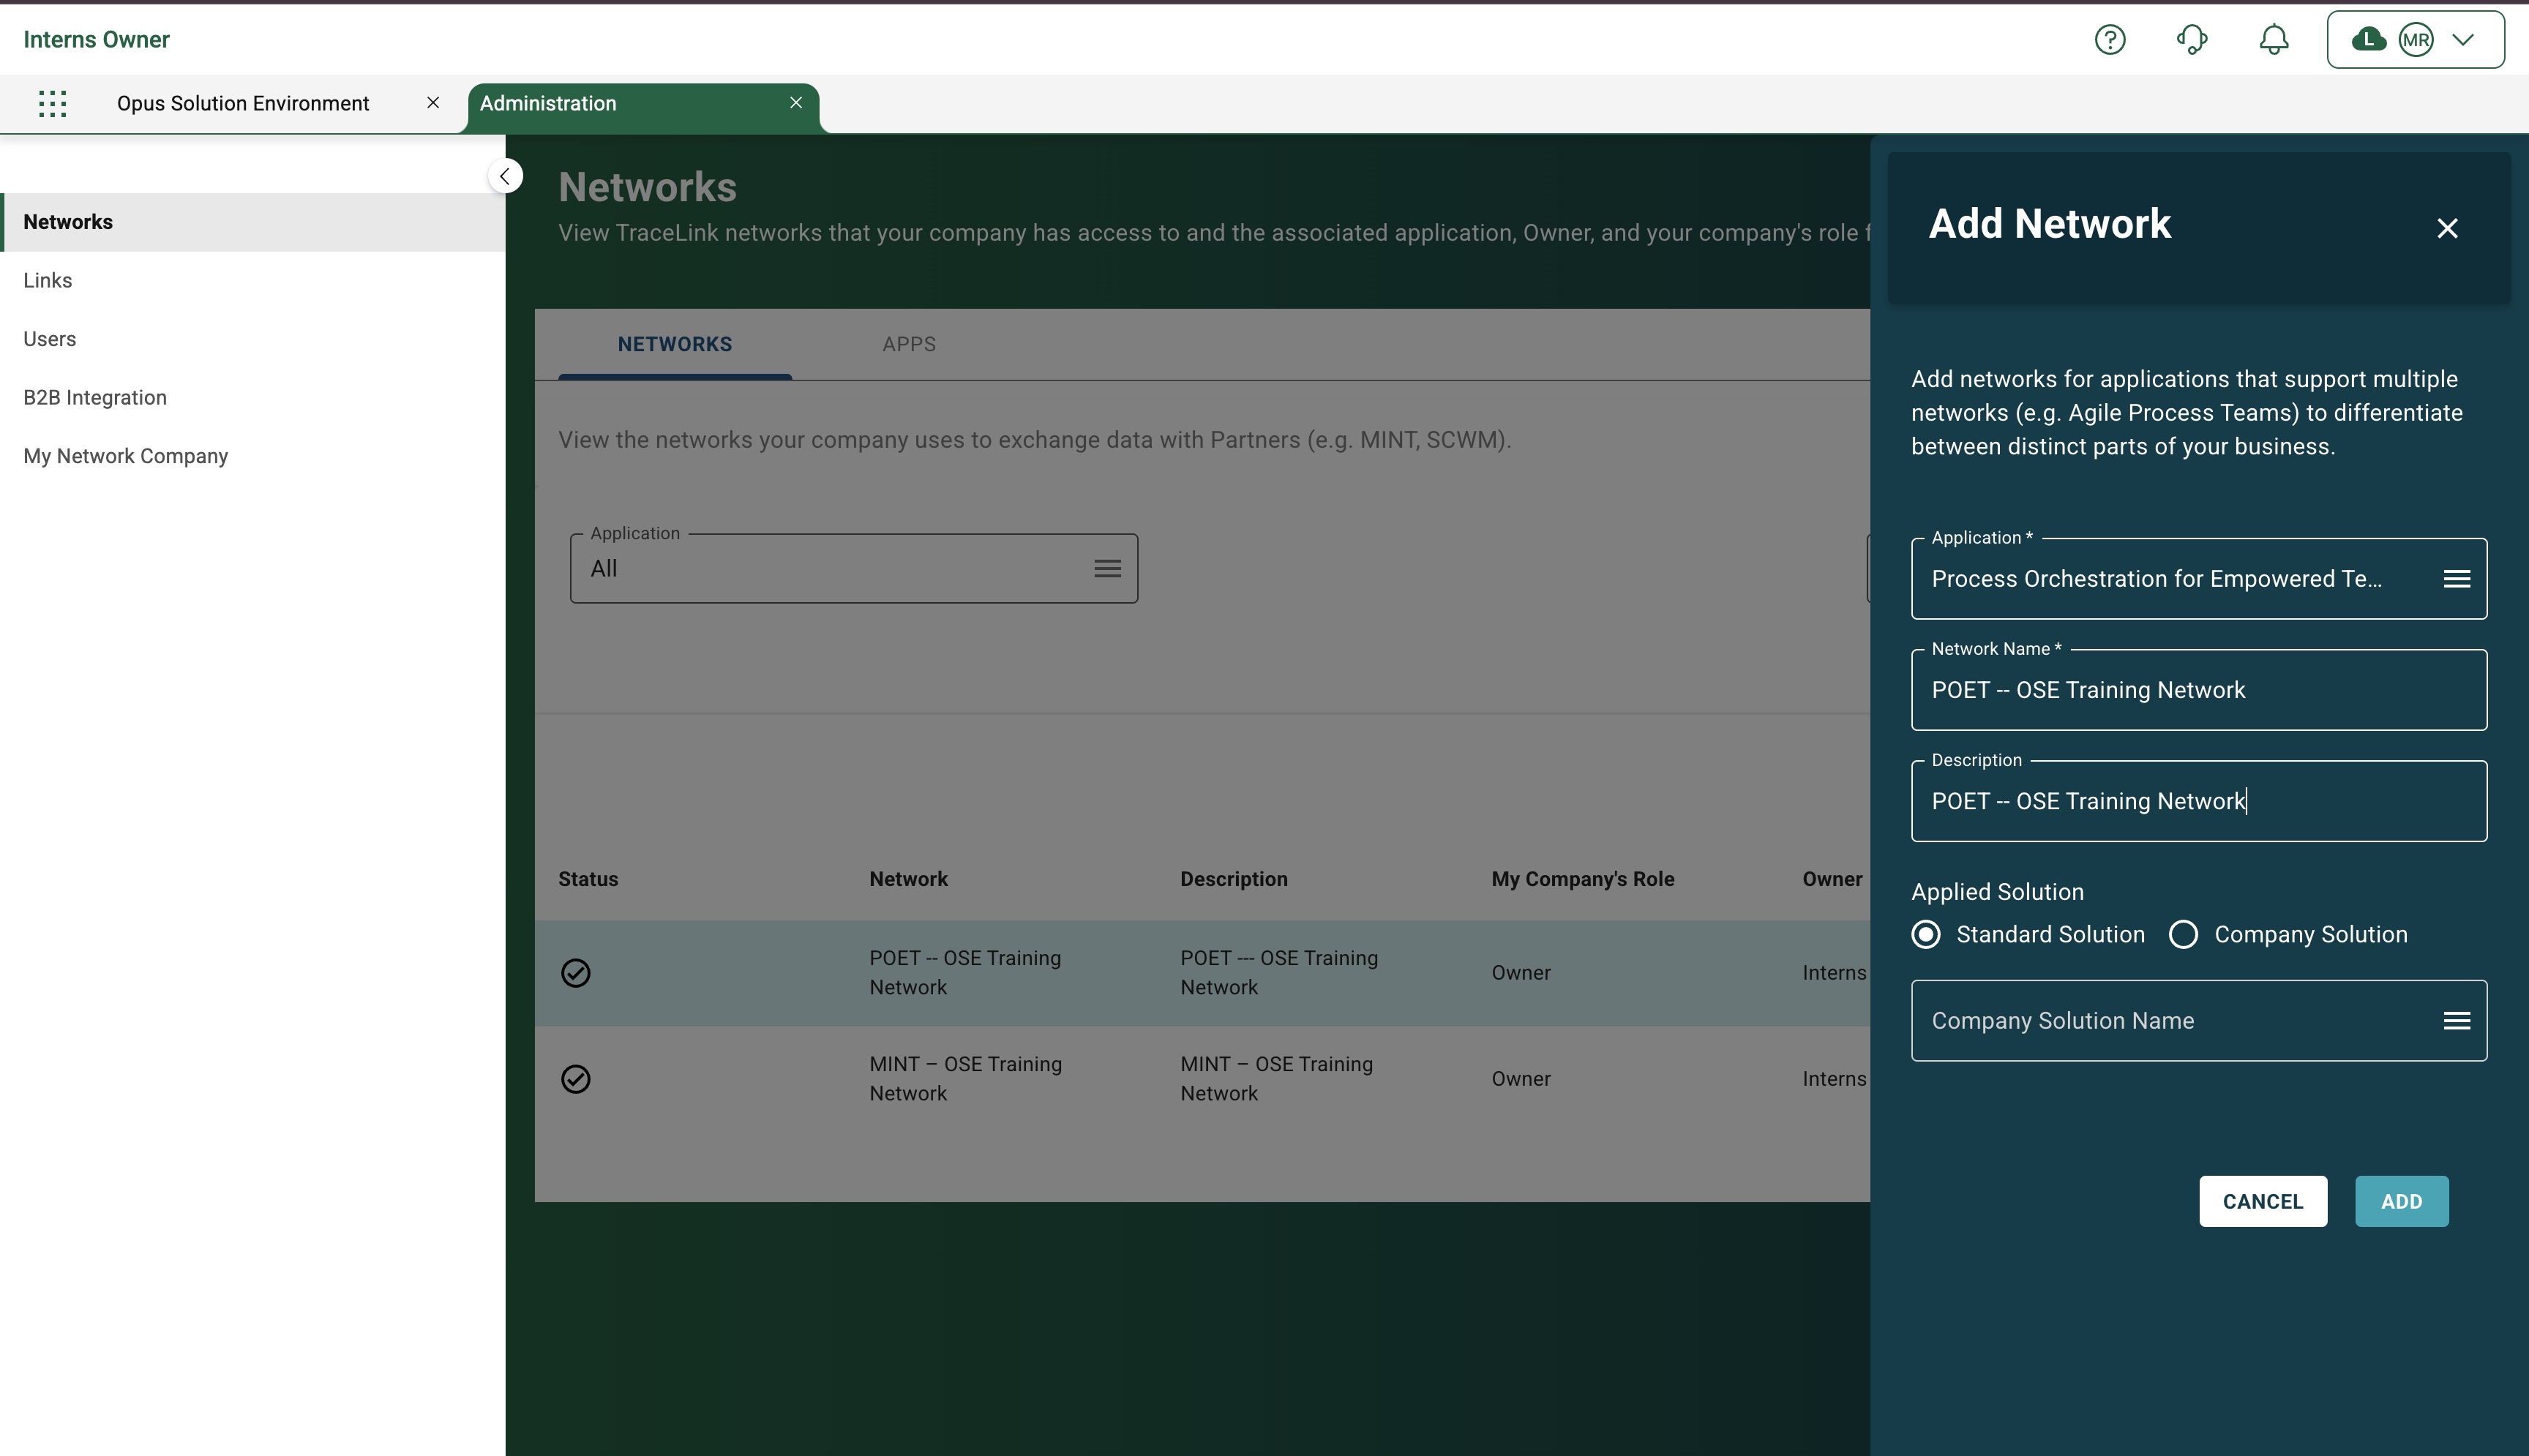
- Enter the information in the following fields:
- Application as Process Orchestration for Empowered Teams
- Network Name as POET – OSE Training Network
- Network Description as POET – OSE Training Network
- Select Add to add the POET Network.
Assigning Roles to User
- In the Administration solution, select Networks from the left-side panel. The Networks tab displays a list of all existing networks associated with this solution.
- Select the Action ⋮ icon, and then select View Users to proceed to the user management interface.

- You will be redirected to the My Network Company page, where user details are listed. Find the user whose role you want to manage.
- Select the Action ⋮ icon next to the user's name, and then select Manage Roles.
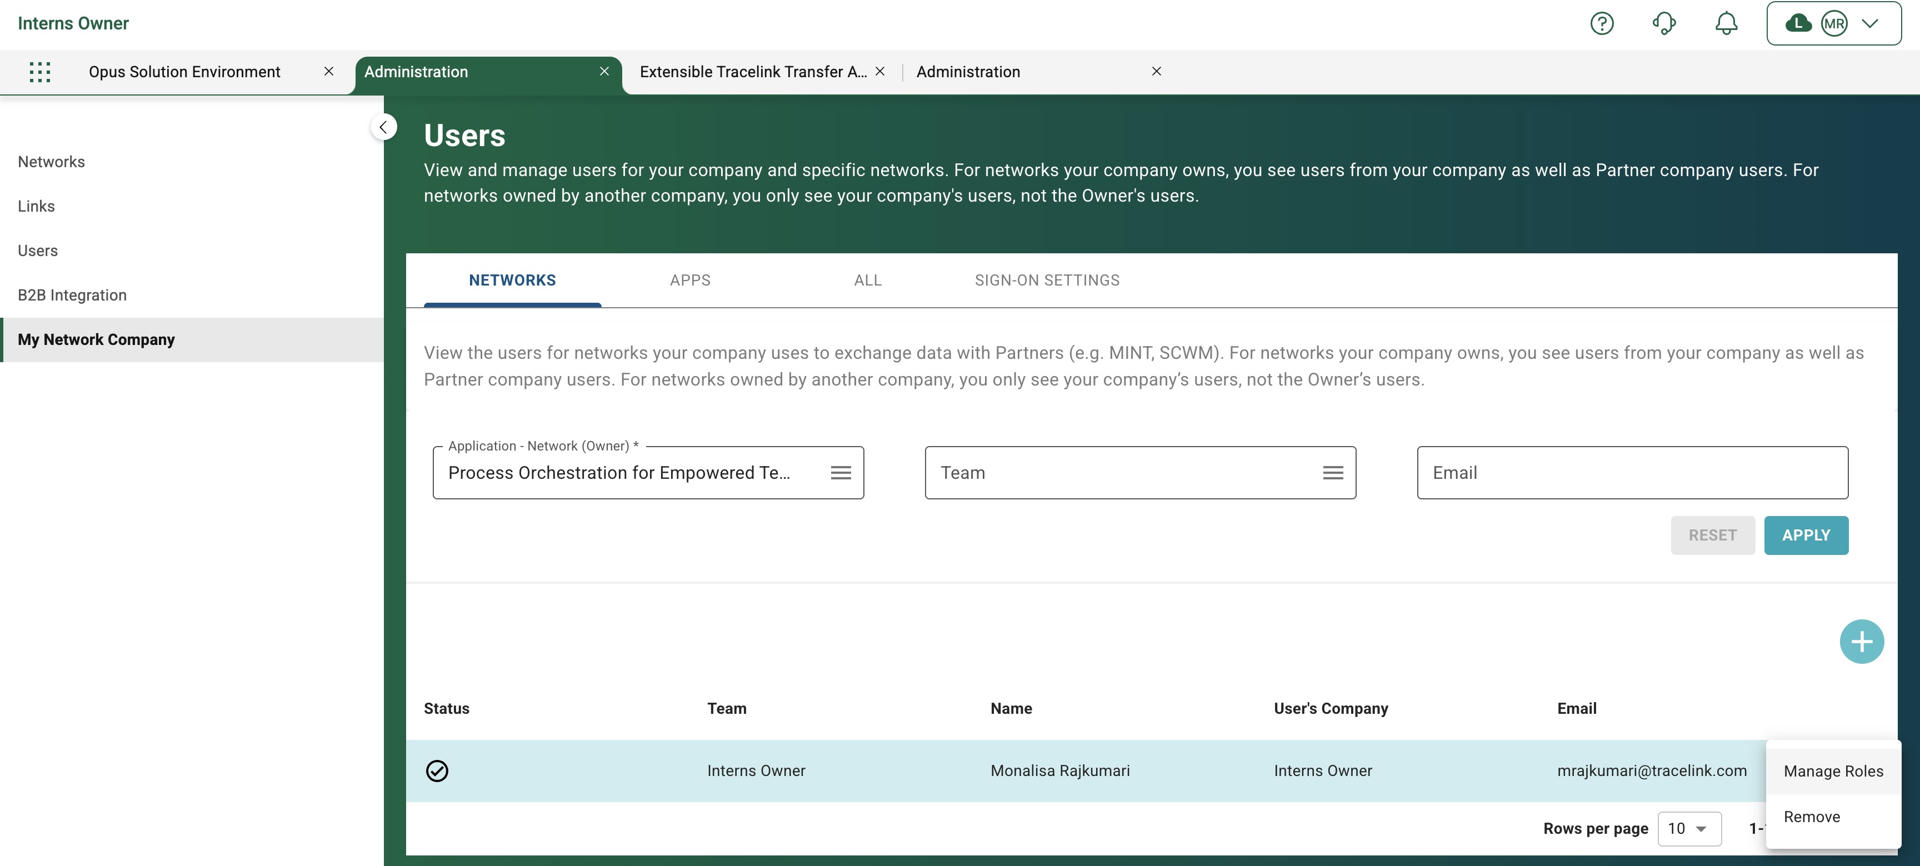
- In the Manage Roles panel, select the roles to assign:
- Member-Expanded Access
- Partner Member
Once the roles are selected, click Submit to apply the changes.
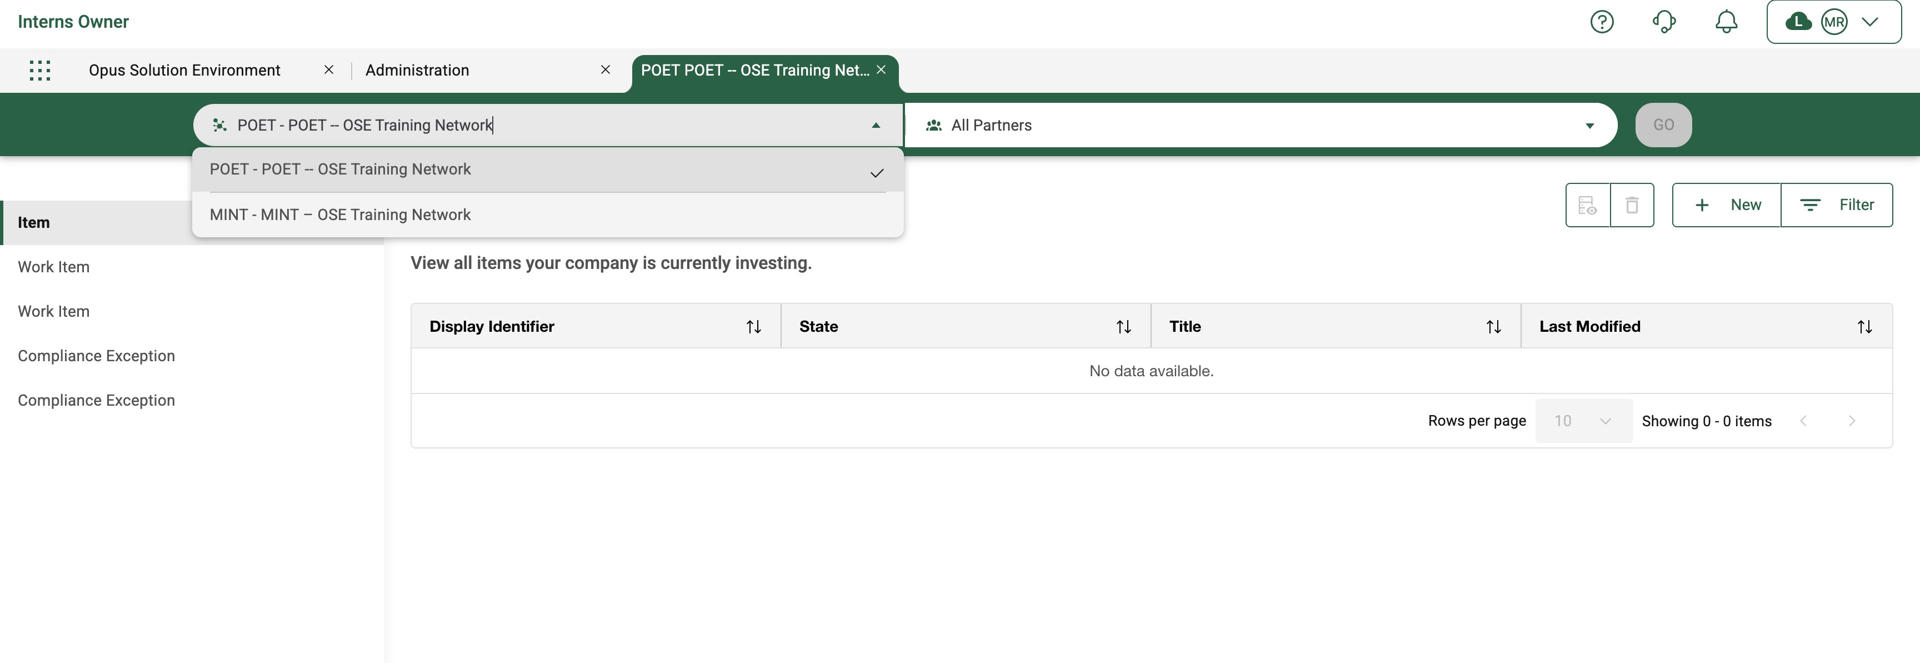
- Log out and log in again. In the My Networks tab in the Main menu, your network page should appear.
If you have more than One Network there will be a drop-down tab where you can choose the desired Network.
